Día de los Muertos Makeup Tutorial: Bring Every Detail to Light
See how bold blue pigment, shimmering highlights, intricate gems, and precise detailing come together in this Día de los Muertos-inspired makeup tutorial, with professional lighting that brings every detail into focus.
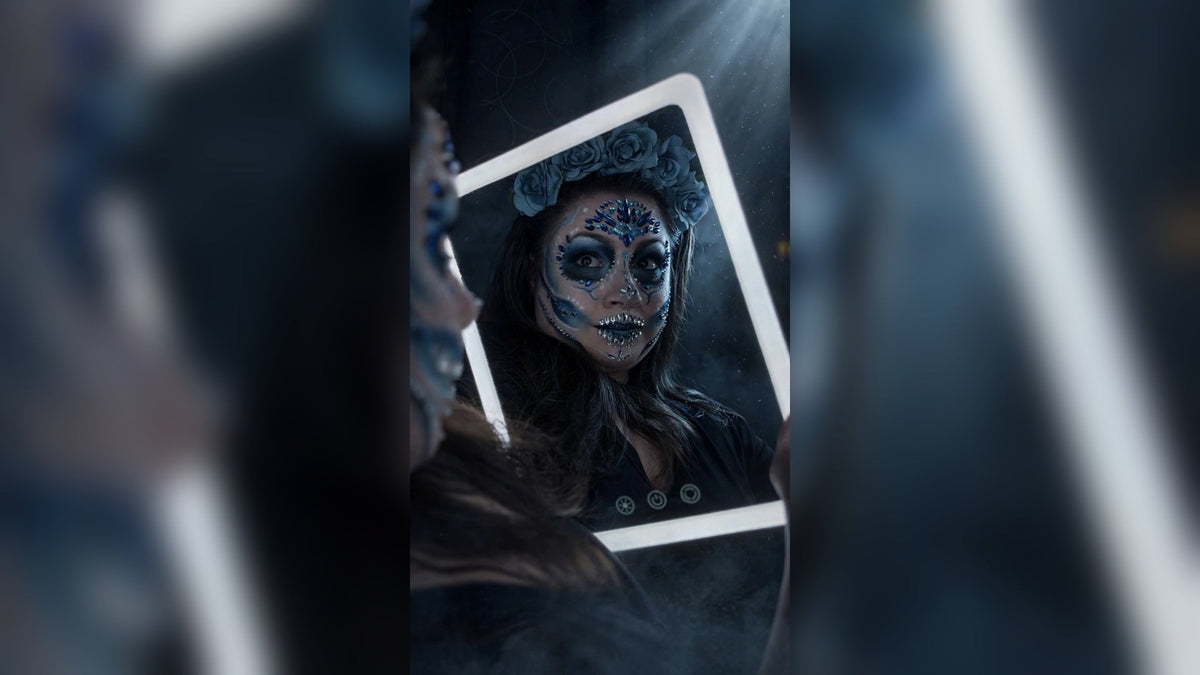
Starting with a fresh face and a cool-toned color palette, this look builds bold blue pigment, dimension, shimmer, and gems into an artistic Día de los Muertos-inspired transformation.
The process is all about layering. Color is built gradually, shapes are refined as the look develops, and smaller details are added until everything comes together.
Follow along with the full tutorial below, then take a closer look at the products, tools, and techniques used throughout the transformation.
Watch the full transformation from fresh face to finished look.

Start with the Base, Then Build the Shape
The look begins with a fresh complexion using Hung Vanngo Beauty Red Carpet Skin Luminous Longwear Serum Foundation, blended out with the BK Beauty x Nikki La Rose N17 Multi-Pro Face Brush.
From there, the blue begins. MOB Beauty Long Wear Liquid Clay Eyeshadow in Spirit Room Blue is applied directly around the eyes, then blended through the outer corner and underneath the lower lash line to begin creating the rounded shape.
The liquid shadow gives you time to work before it sets, making it easier to spread the color and adjust the shape as you go.
To deepen the design, MOB Beauty Cake Liner is activated with a little water and blended into the blue base.
One of the best tips from the tutorial: don't be afraid to stop working on one eye and move to the other. Going back and forth makes it much easier to keep both sides balanced as the shape develops.
“Don't be afraid to stop one eye to continue the other, just so that you can get as even as possible.”
A little symmetry advice from Stephy
Layer the Blues for More Dimension
Once the shape is established, the next step is building intensity.
Using the ANISA Beauty Eye Fan All-Over Brush, blue eyeshadow from a Painted by James Charles palette is stippled over the base.
The shadows are highly pigmented, so a little goes a long way, but for a look this bold, there's no reason to be afraid of packing on the color.
For more detailed placement, the Rose and Ben Beauty E27 Detail Eye Brush brings the color into the inner corner, while the BK Beauty 203 Shader Brush adds a deeper blue for contrast.
Working between lighter and darker shades keeps the eye from looking flat and starts giving the design the dimension that makes the blue really stand out.

Clean Up the Edges Without Losing the Drama
Creative makeup doesn't always look perfect halfway through the process, and that's completely fine.
To clean up the edges and bring the circular shape back into focus, NYX Professional Makeup Pro Fix Stick Correcting Concealer is applied around the design.
The Rose and Ben Beauty C32 Large Concealer Brush blends around the eye in circular motions, cleaning the edges without losing the softness of the overall look.
Build color. Clean it up. Soften an edge. Go back in again. The finished shape doesn't have to happen all at once.


Bring in the Gems, Highlights, and Definition
Once the main eye shape is in place, it's time for the details that completely change the look.
Individual gems are secured around the eyes and forehead with lash glue. There's no exact pattern you have to recreate here. The placement can follow whatever design you want to create.
Using the Rose and Ben Beauty C30 Detail Concealer Brush, white eyeshadow is added anywhere the design needs more brightness. Darker blue is then layered back in for additional definition.
Add brightness.
Add depth.
Step back. Look again.
This part of the process is meant to move back and forth. Highlight, deepen, blend, and adjust until the contrast feels right.
You Can Only Perfect the Details You Can Actually See.
As the look becomes more detailed, lighting becomes another tool in the application process.
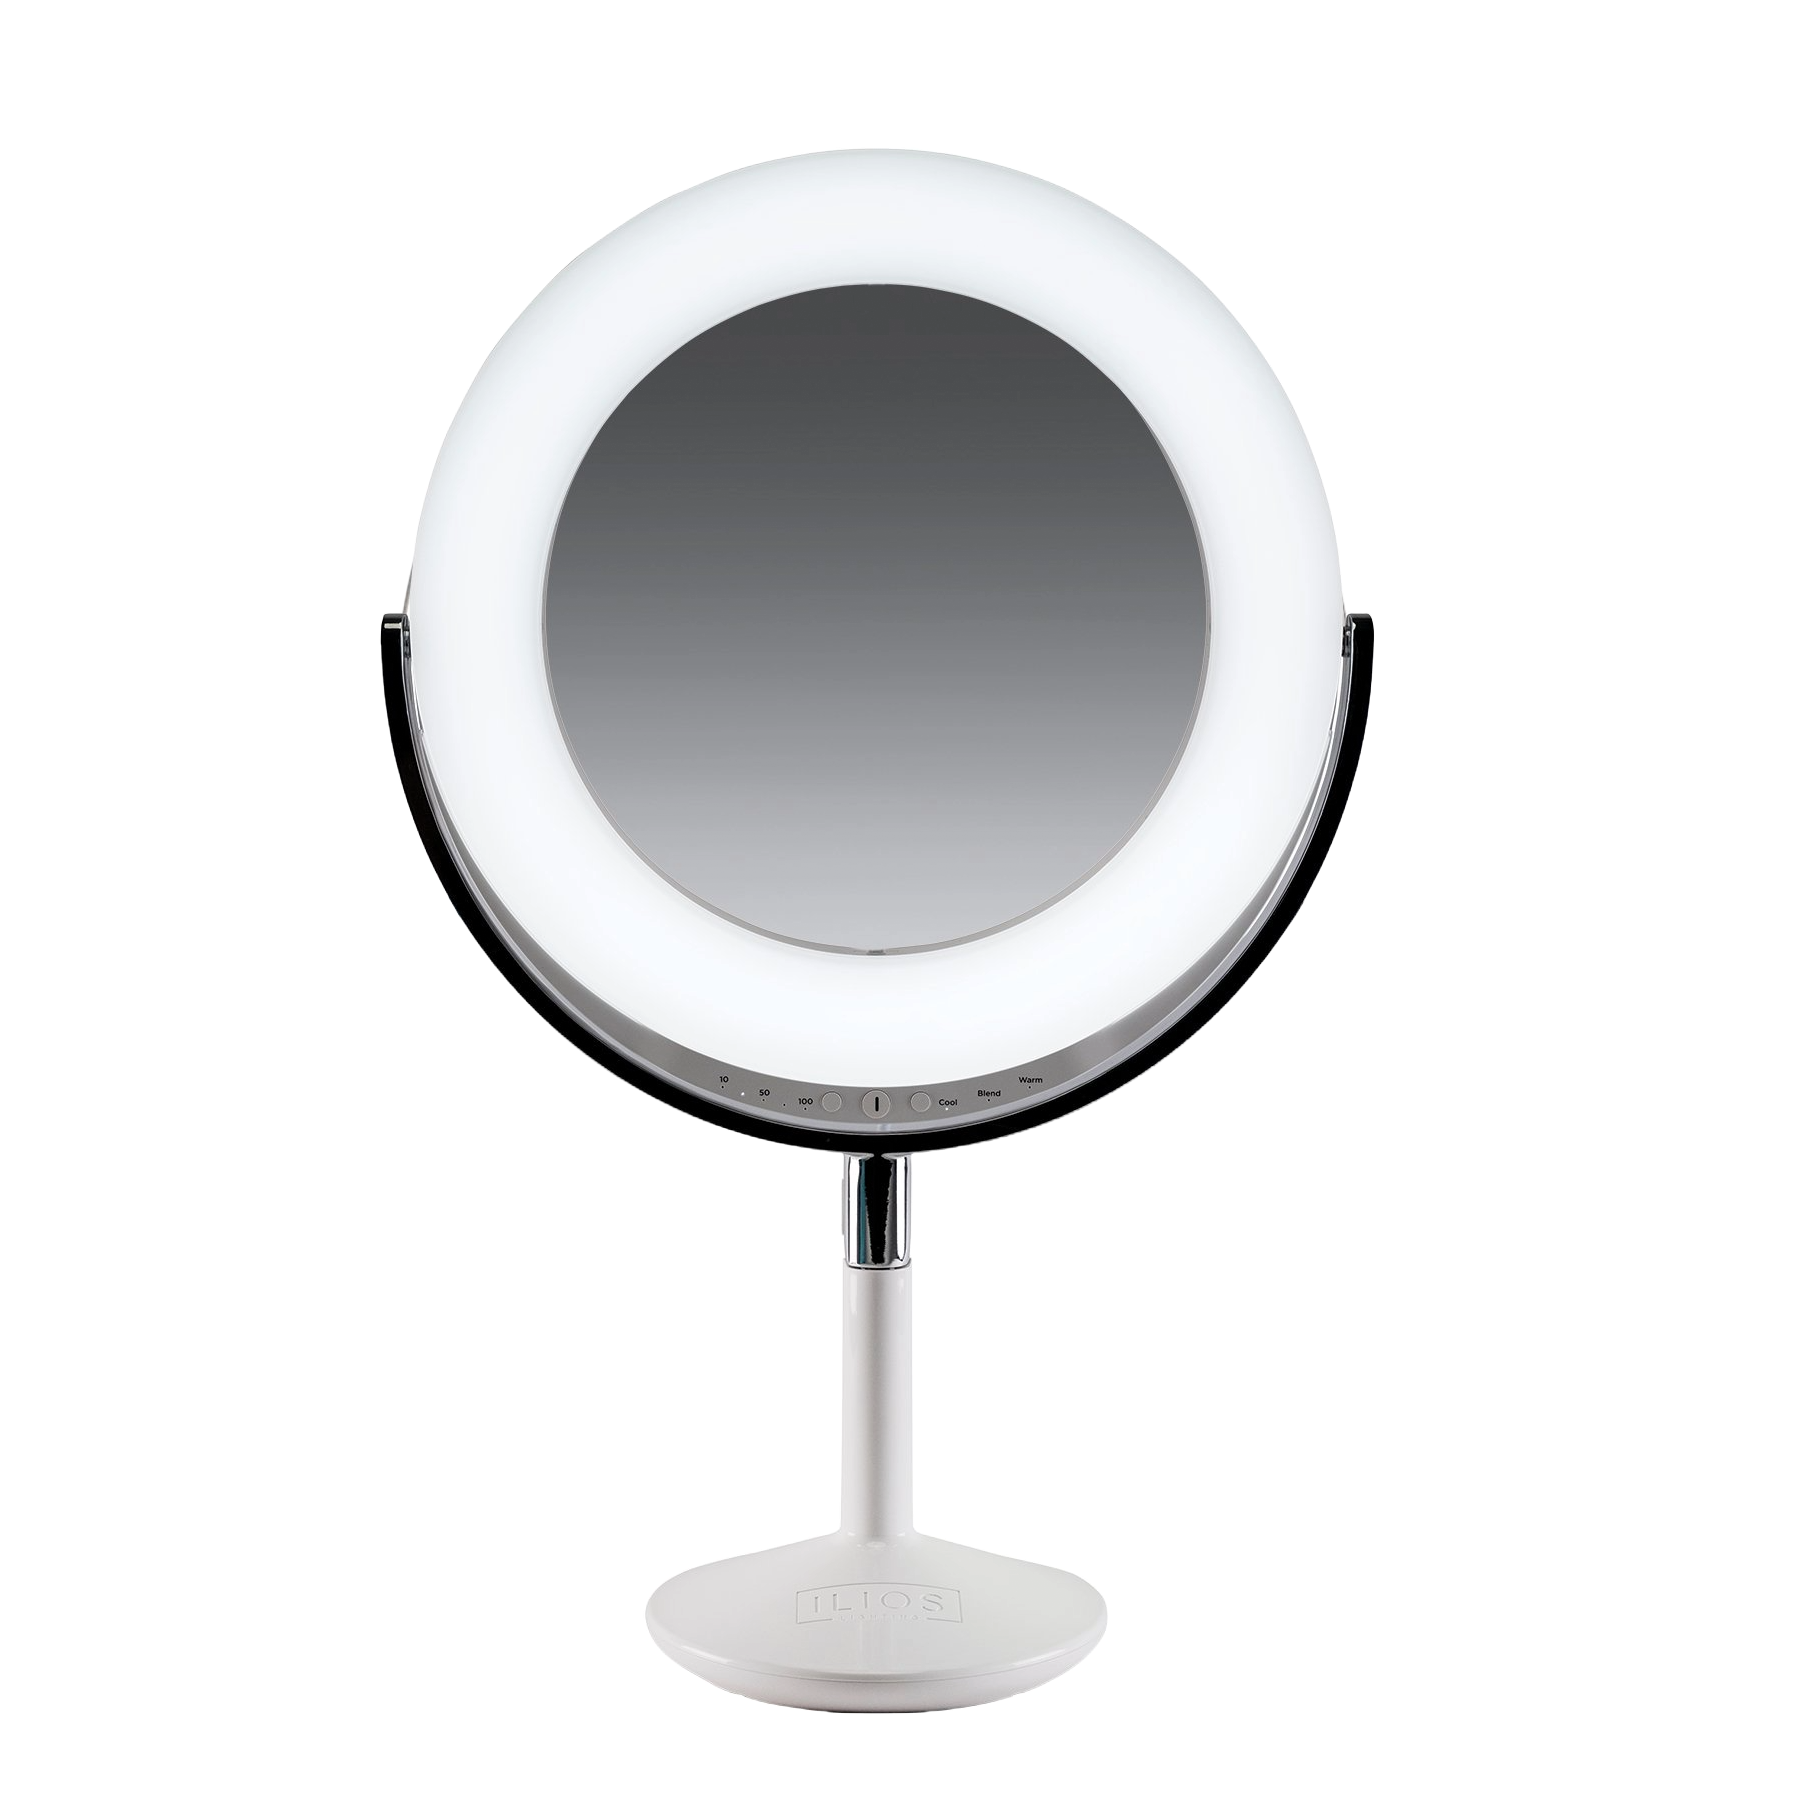
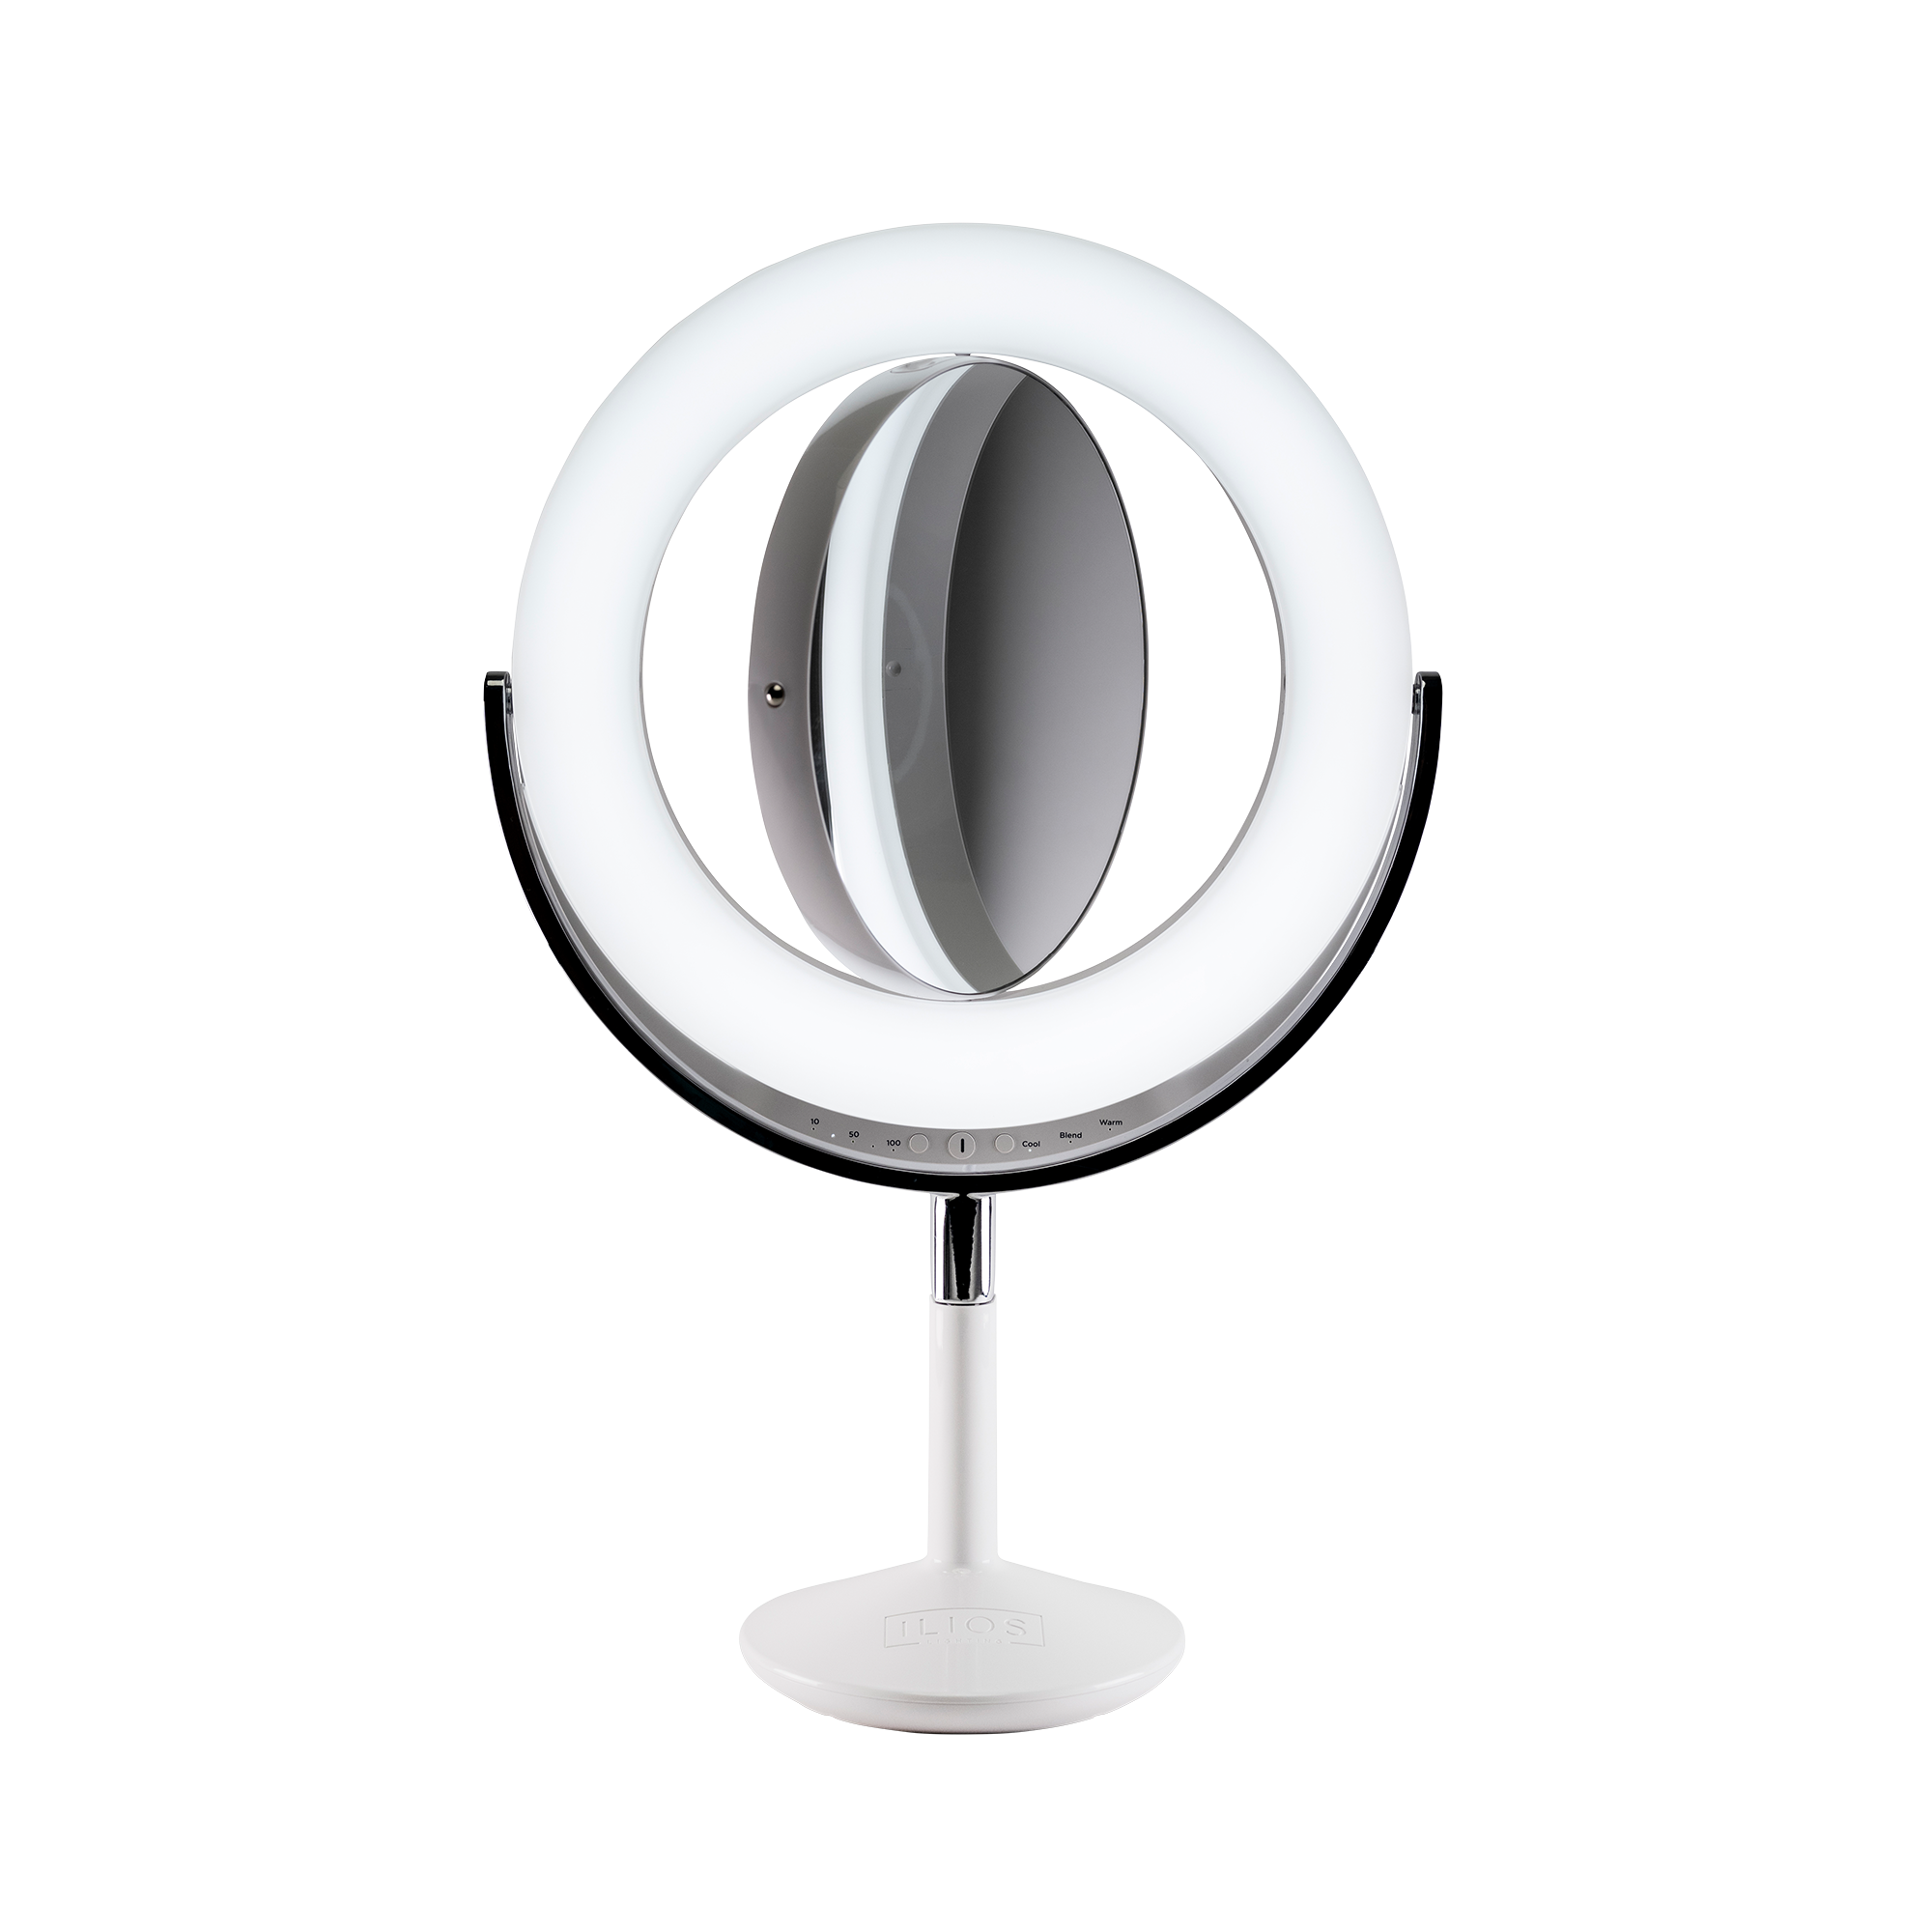
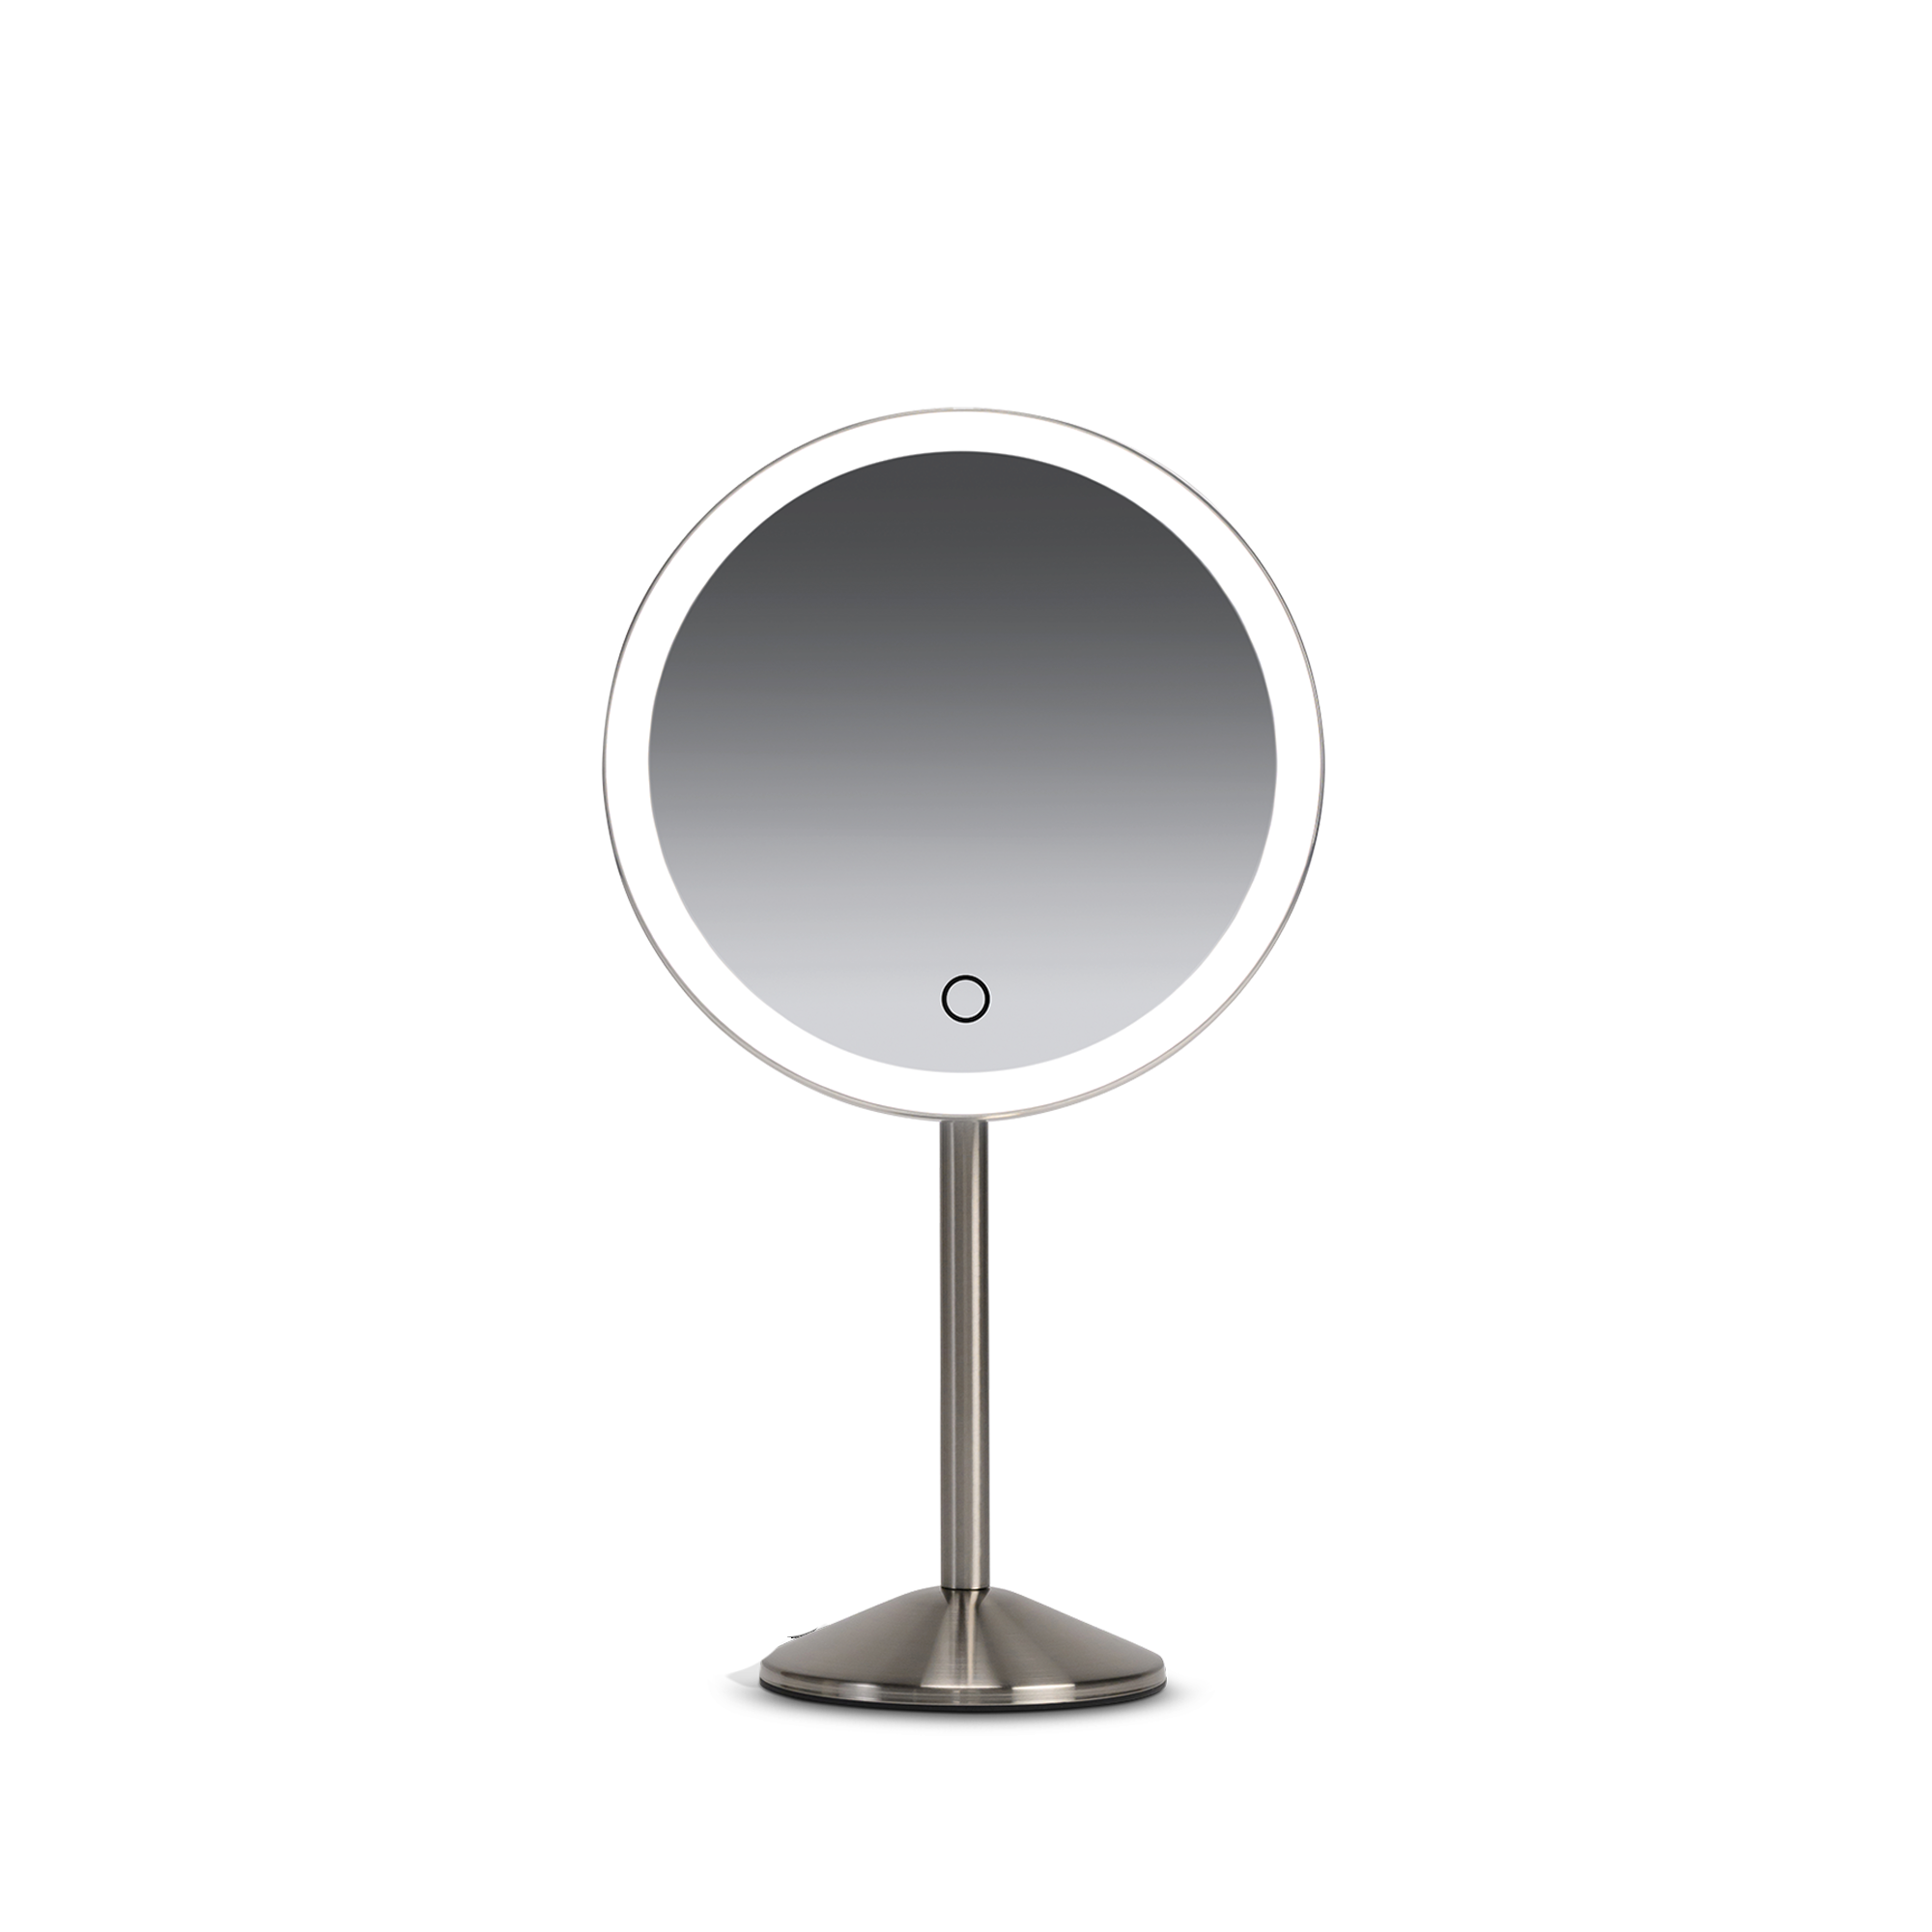
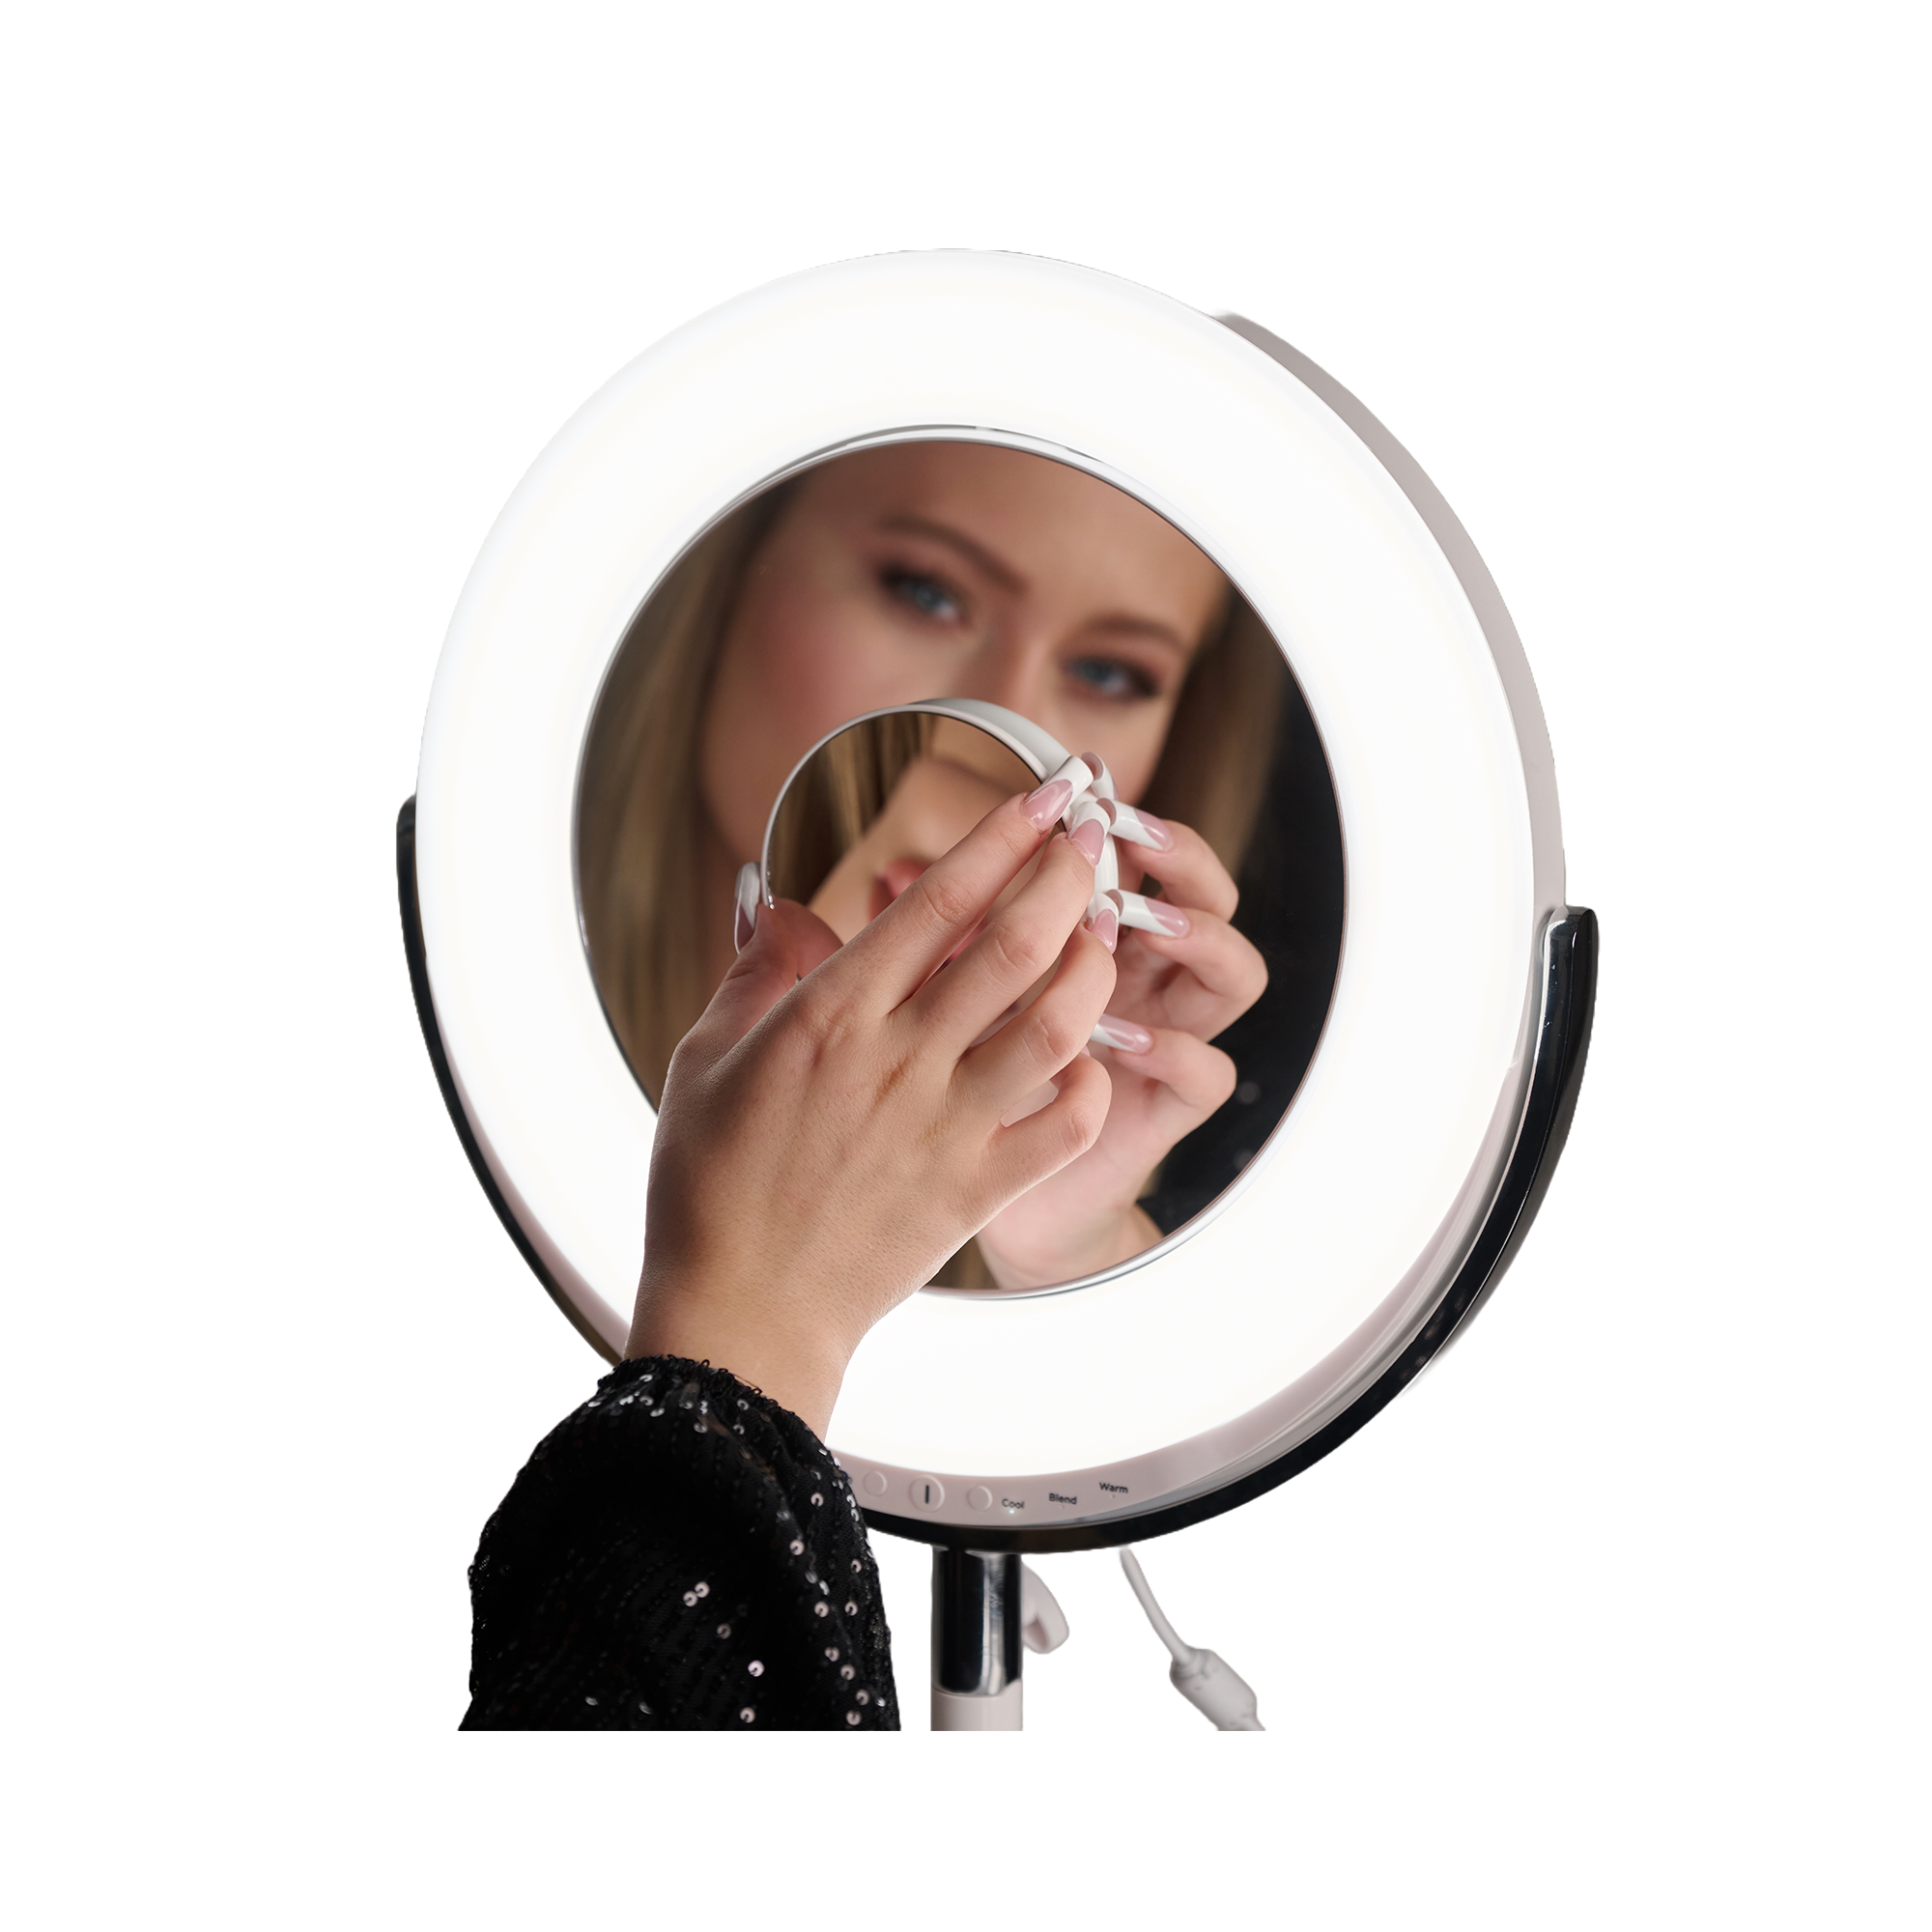
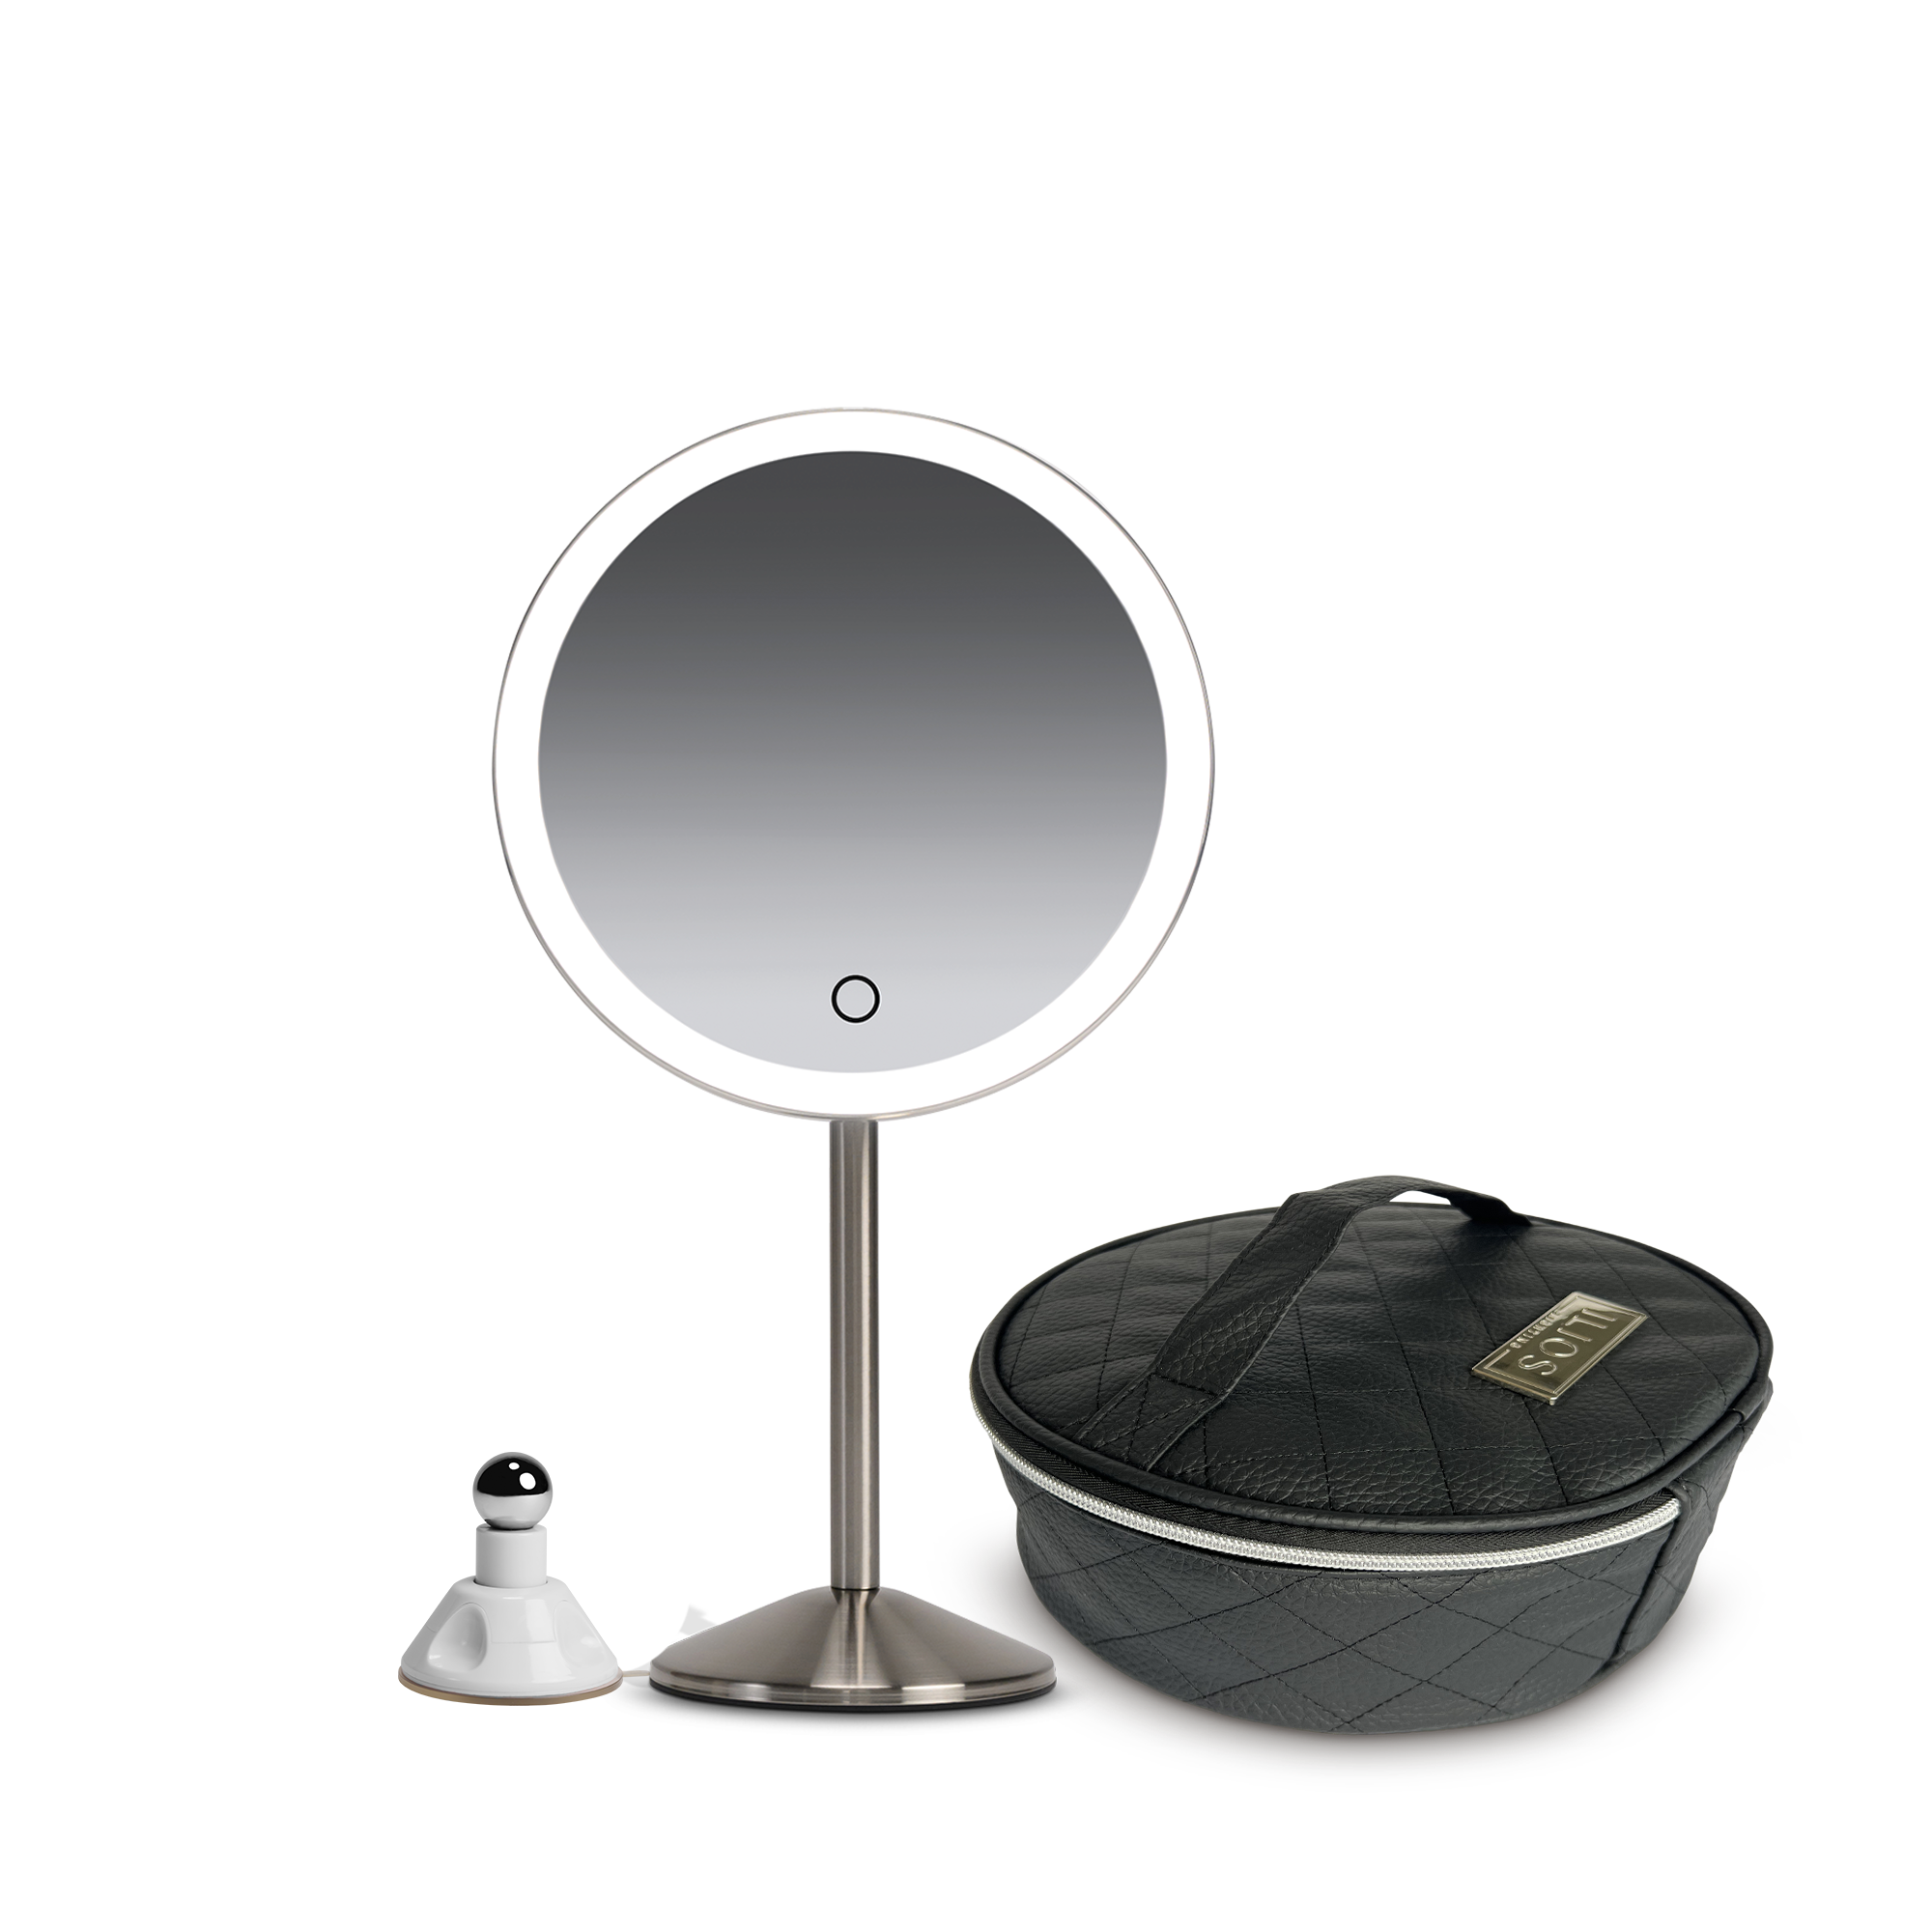
For this transformation, Stephy works with the Ilios Beauty Ring Mirror, using bright, high-quality illumination to see color, blending, texture, and precise placement more clearly.
That matters when you're blending several shades of blue. It matters when you're trying to keep an intricate design balanced. And it definitely matters when you're placing individual gems around the eyes.
The Beauty Ring's high-CRI illumination is designed to closely replicate natural daylight, giving artists a clearer view of the colors and details they're actually working with.
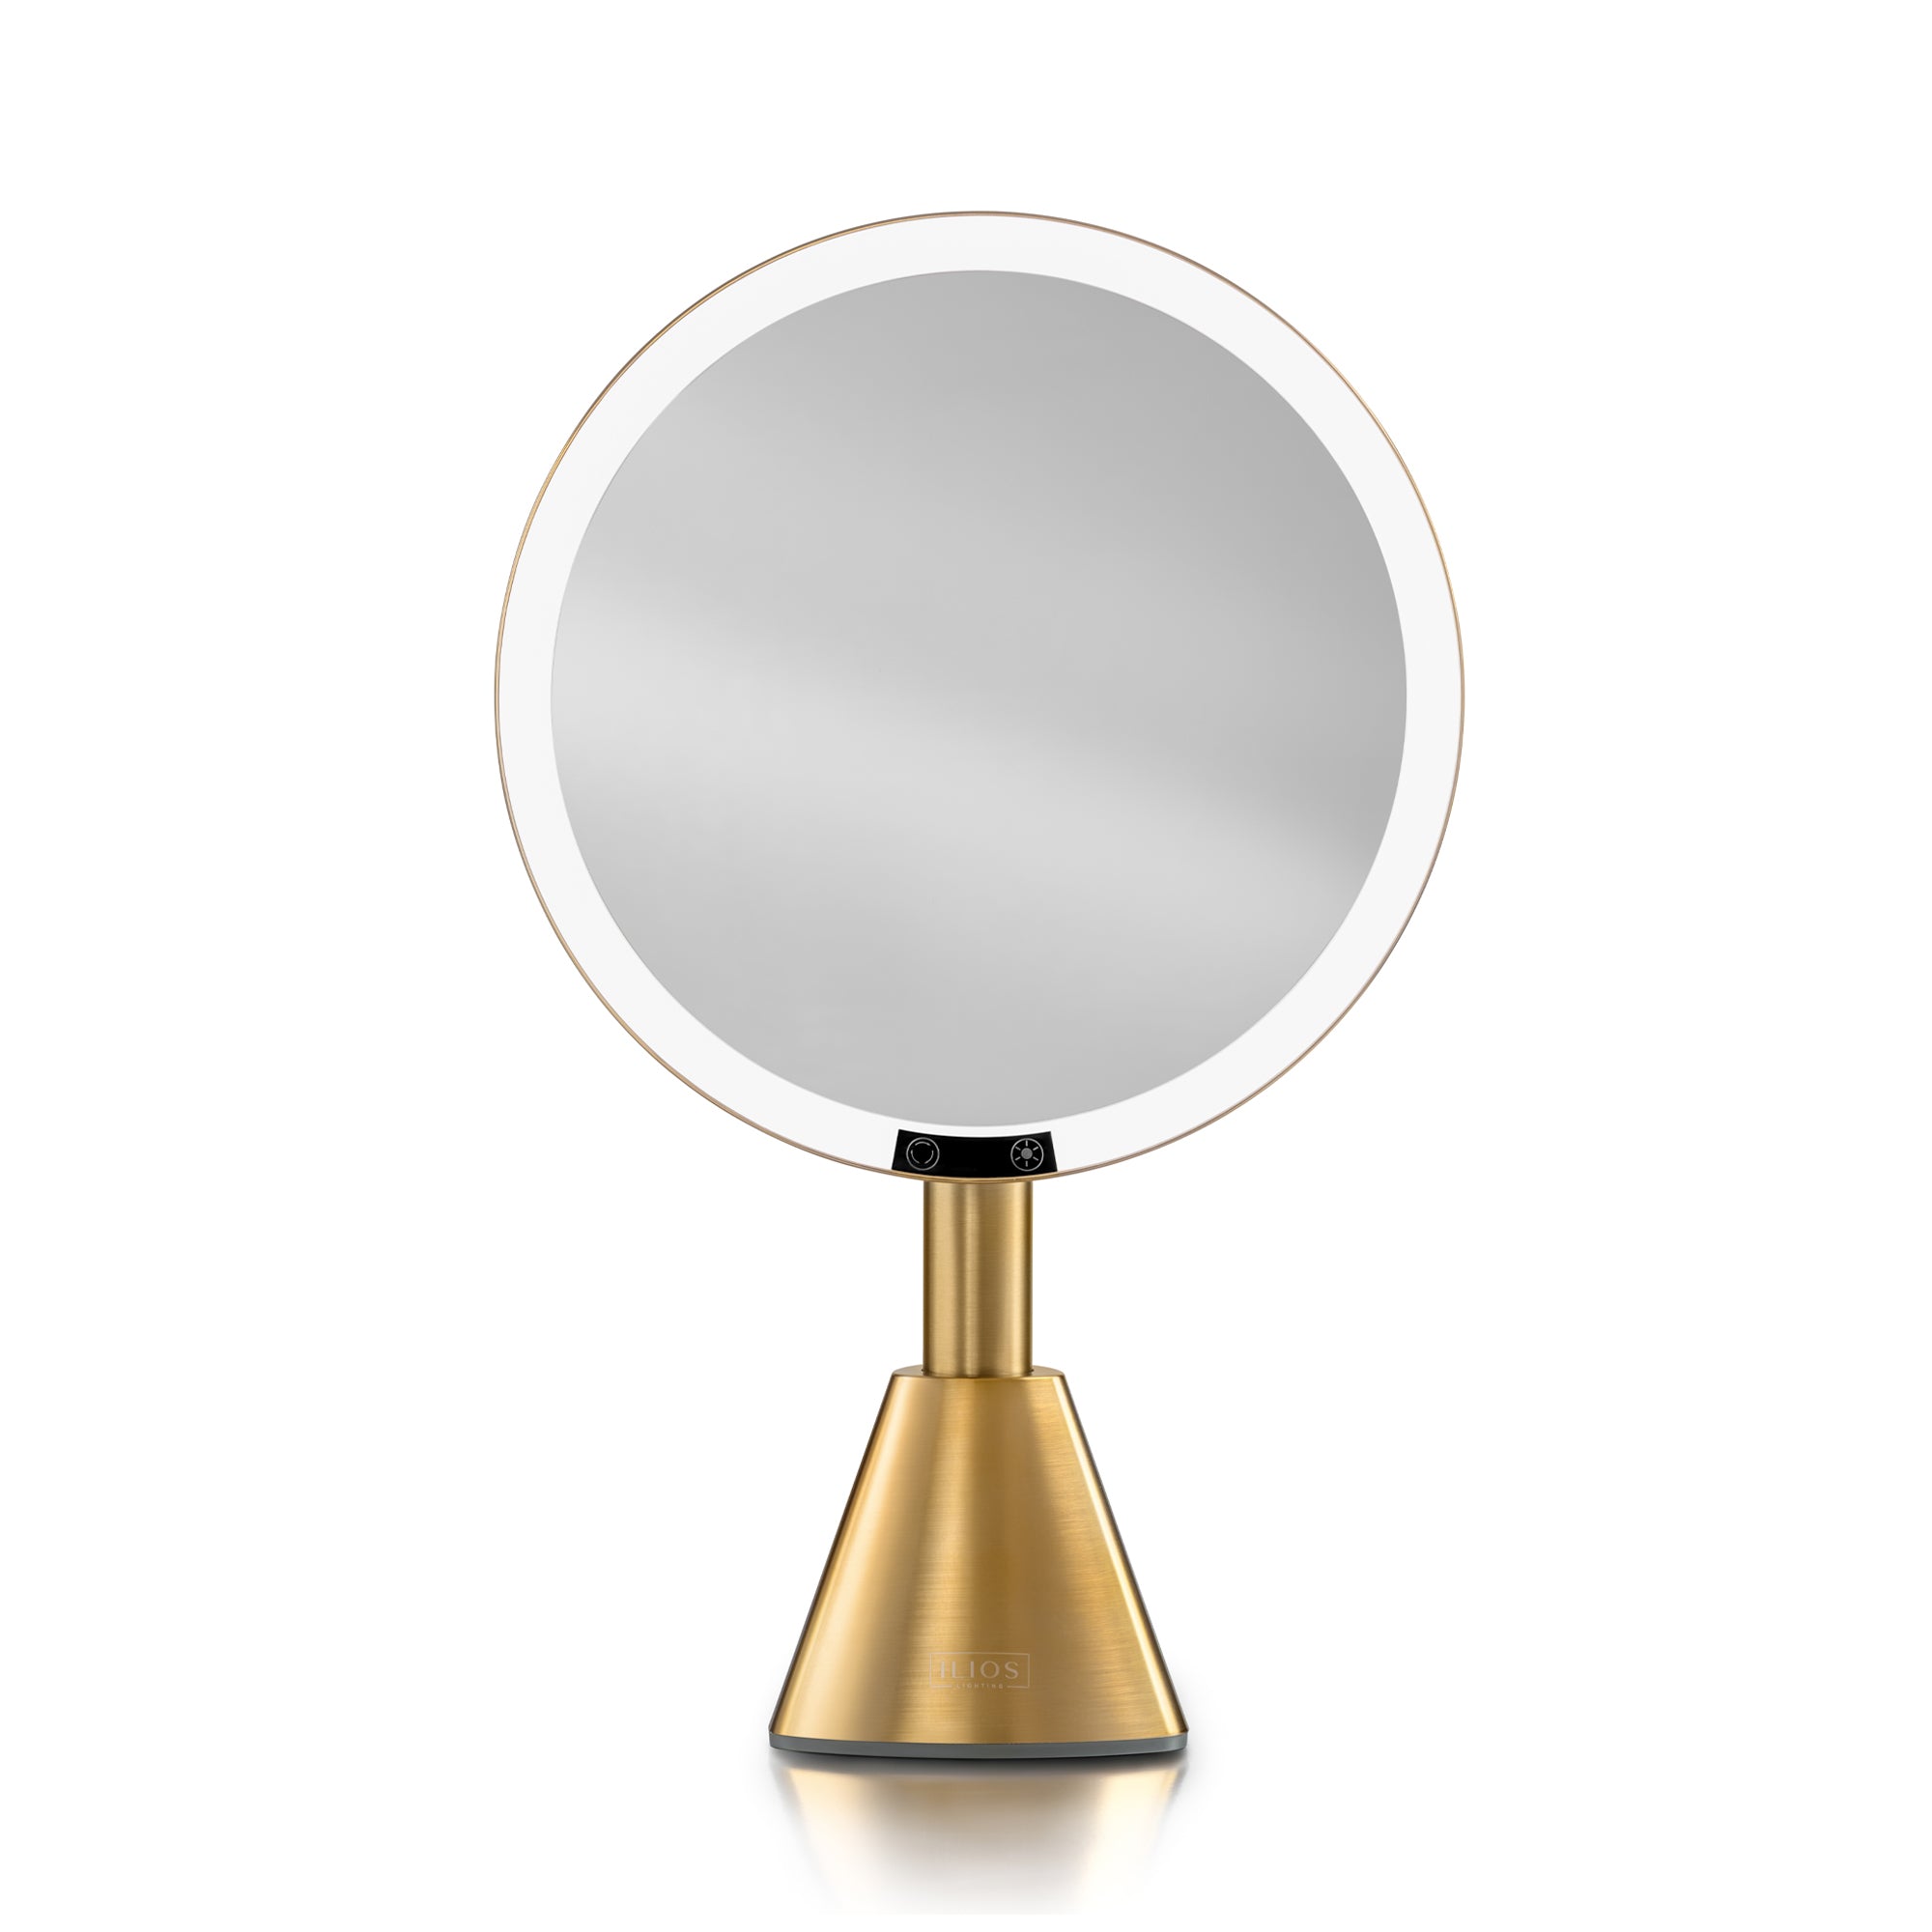
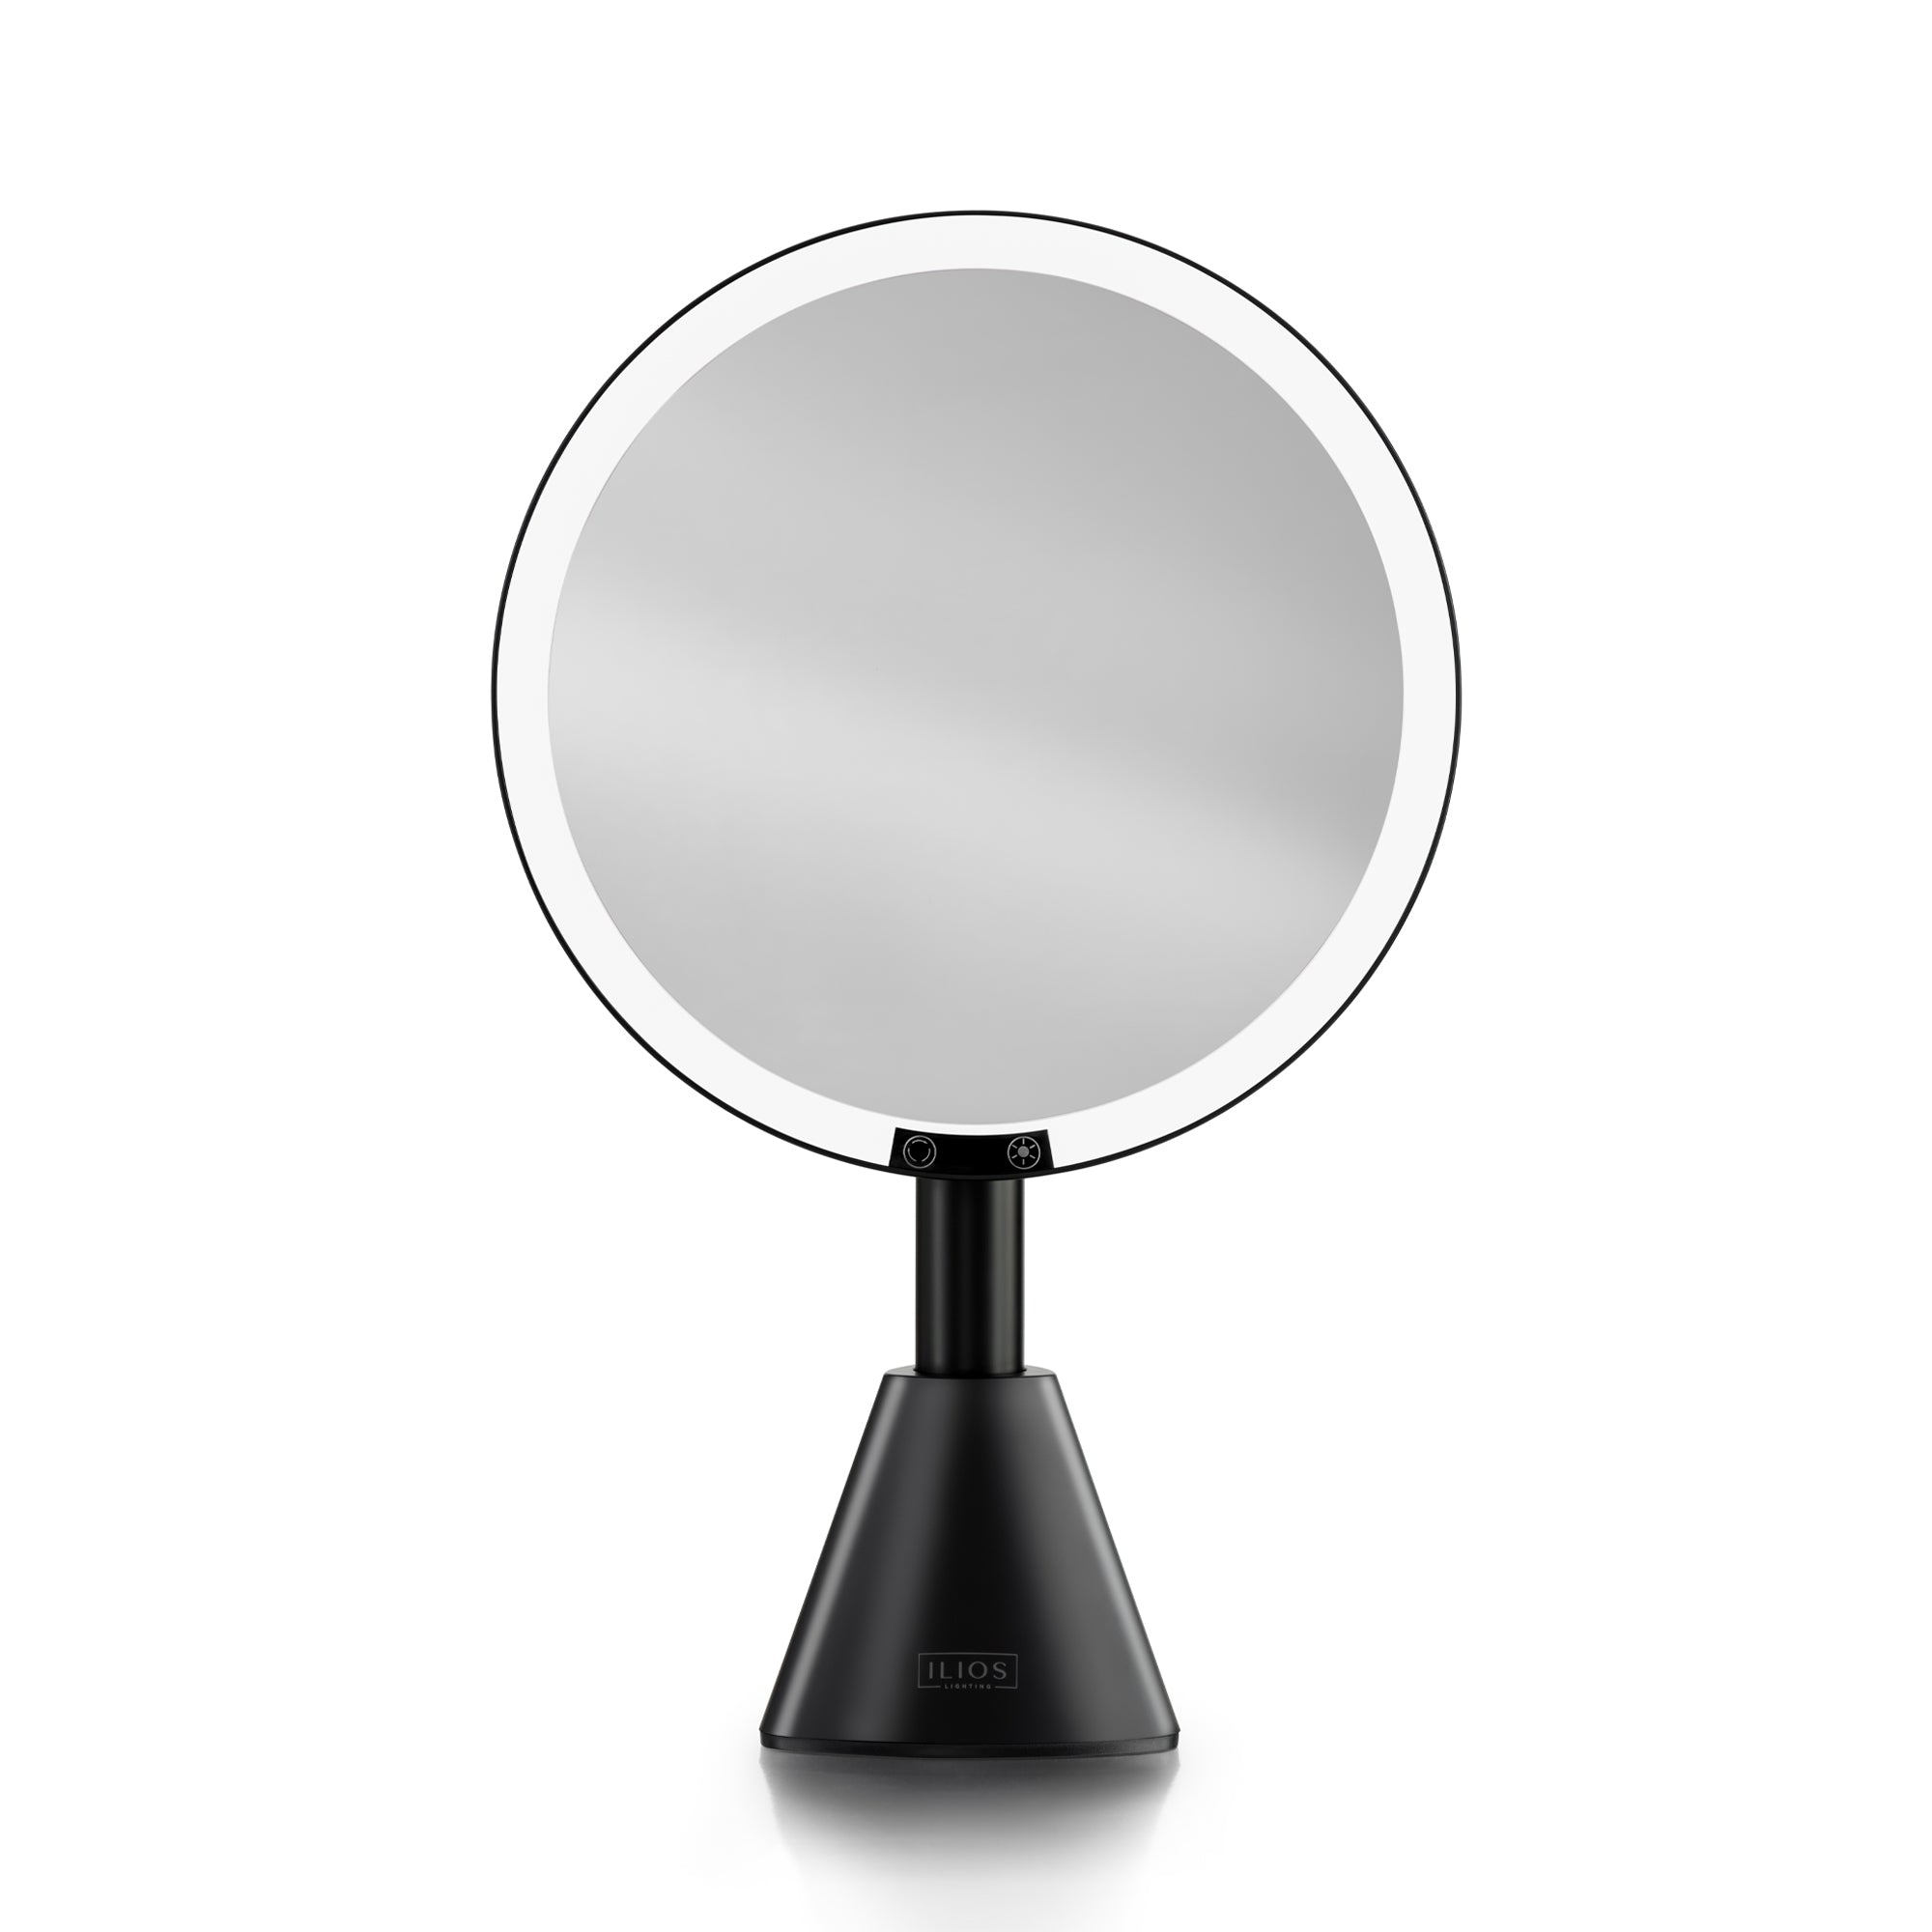
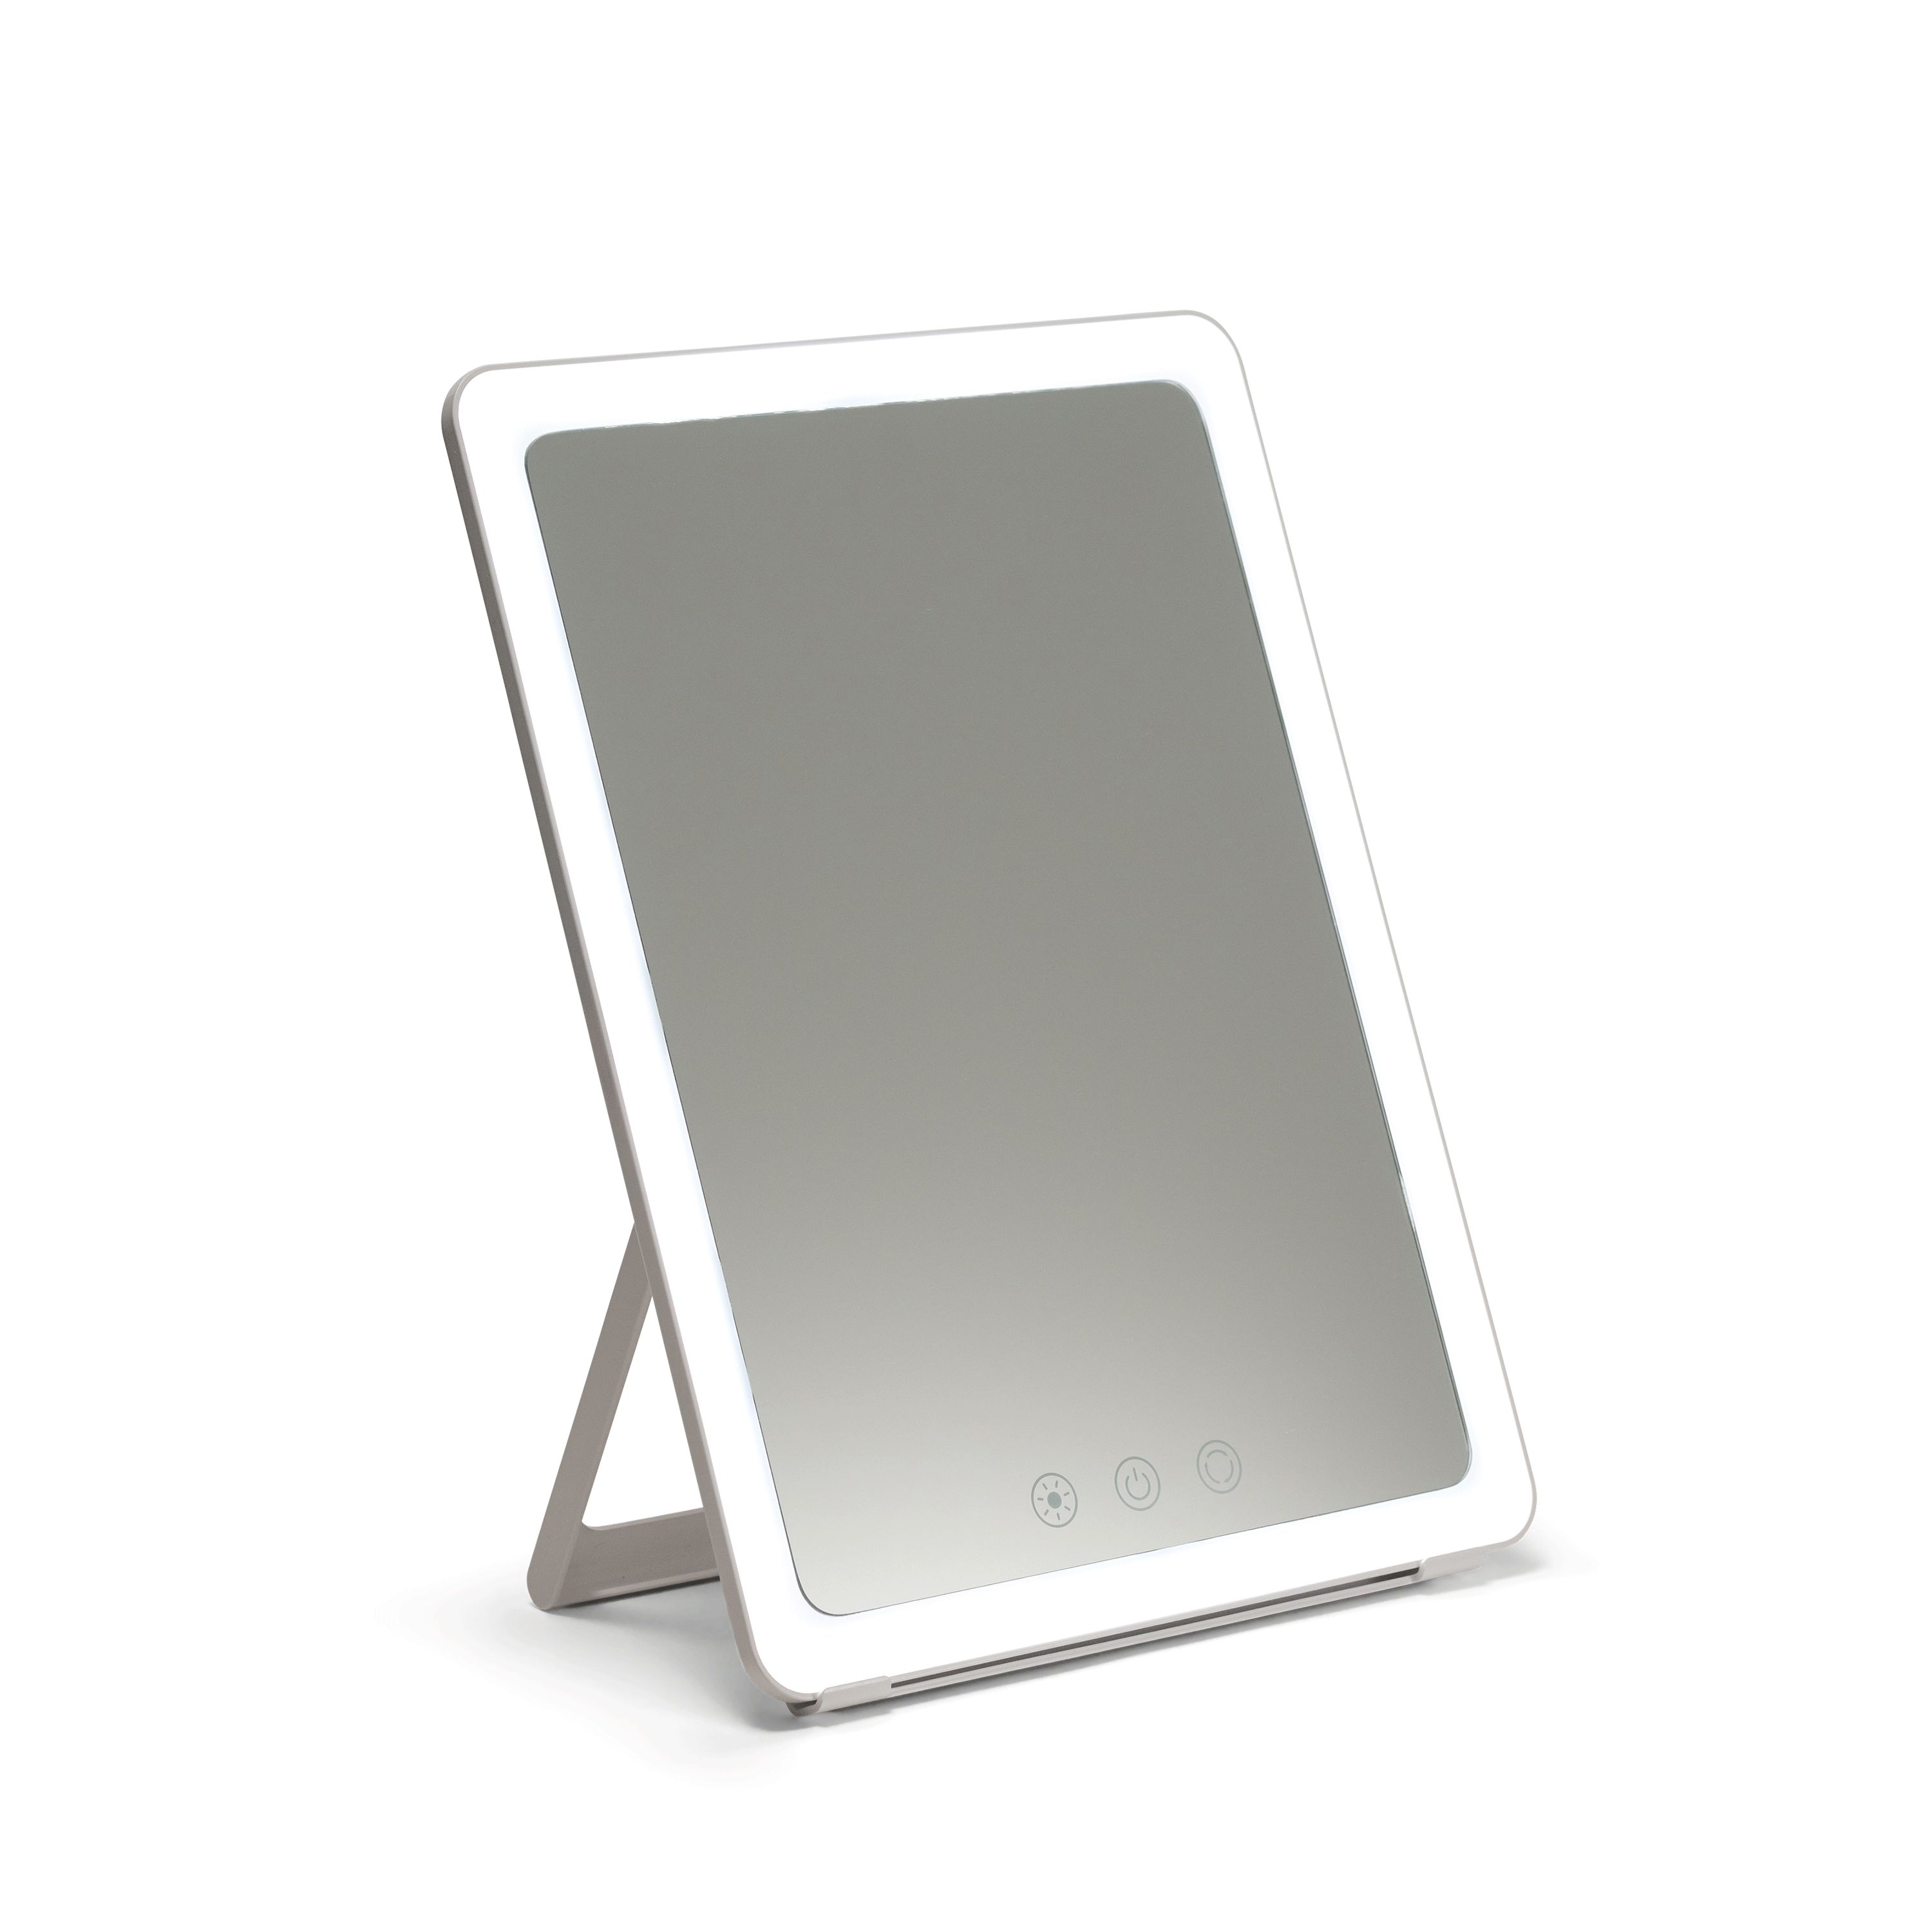
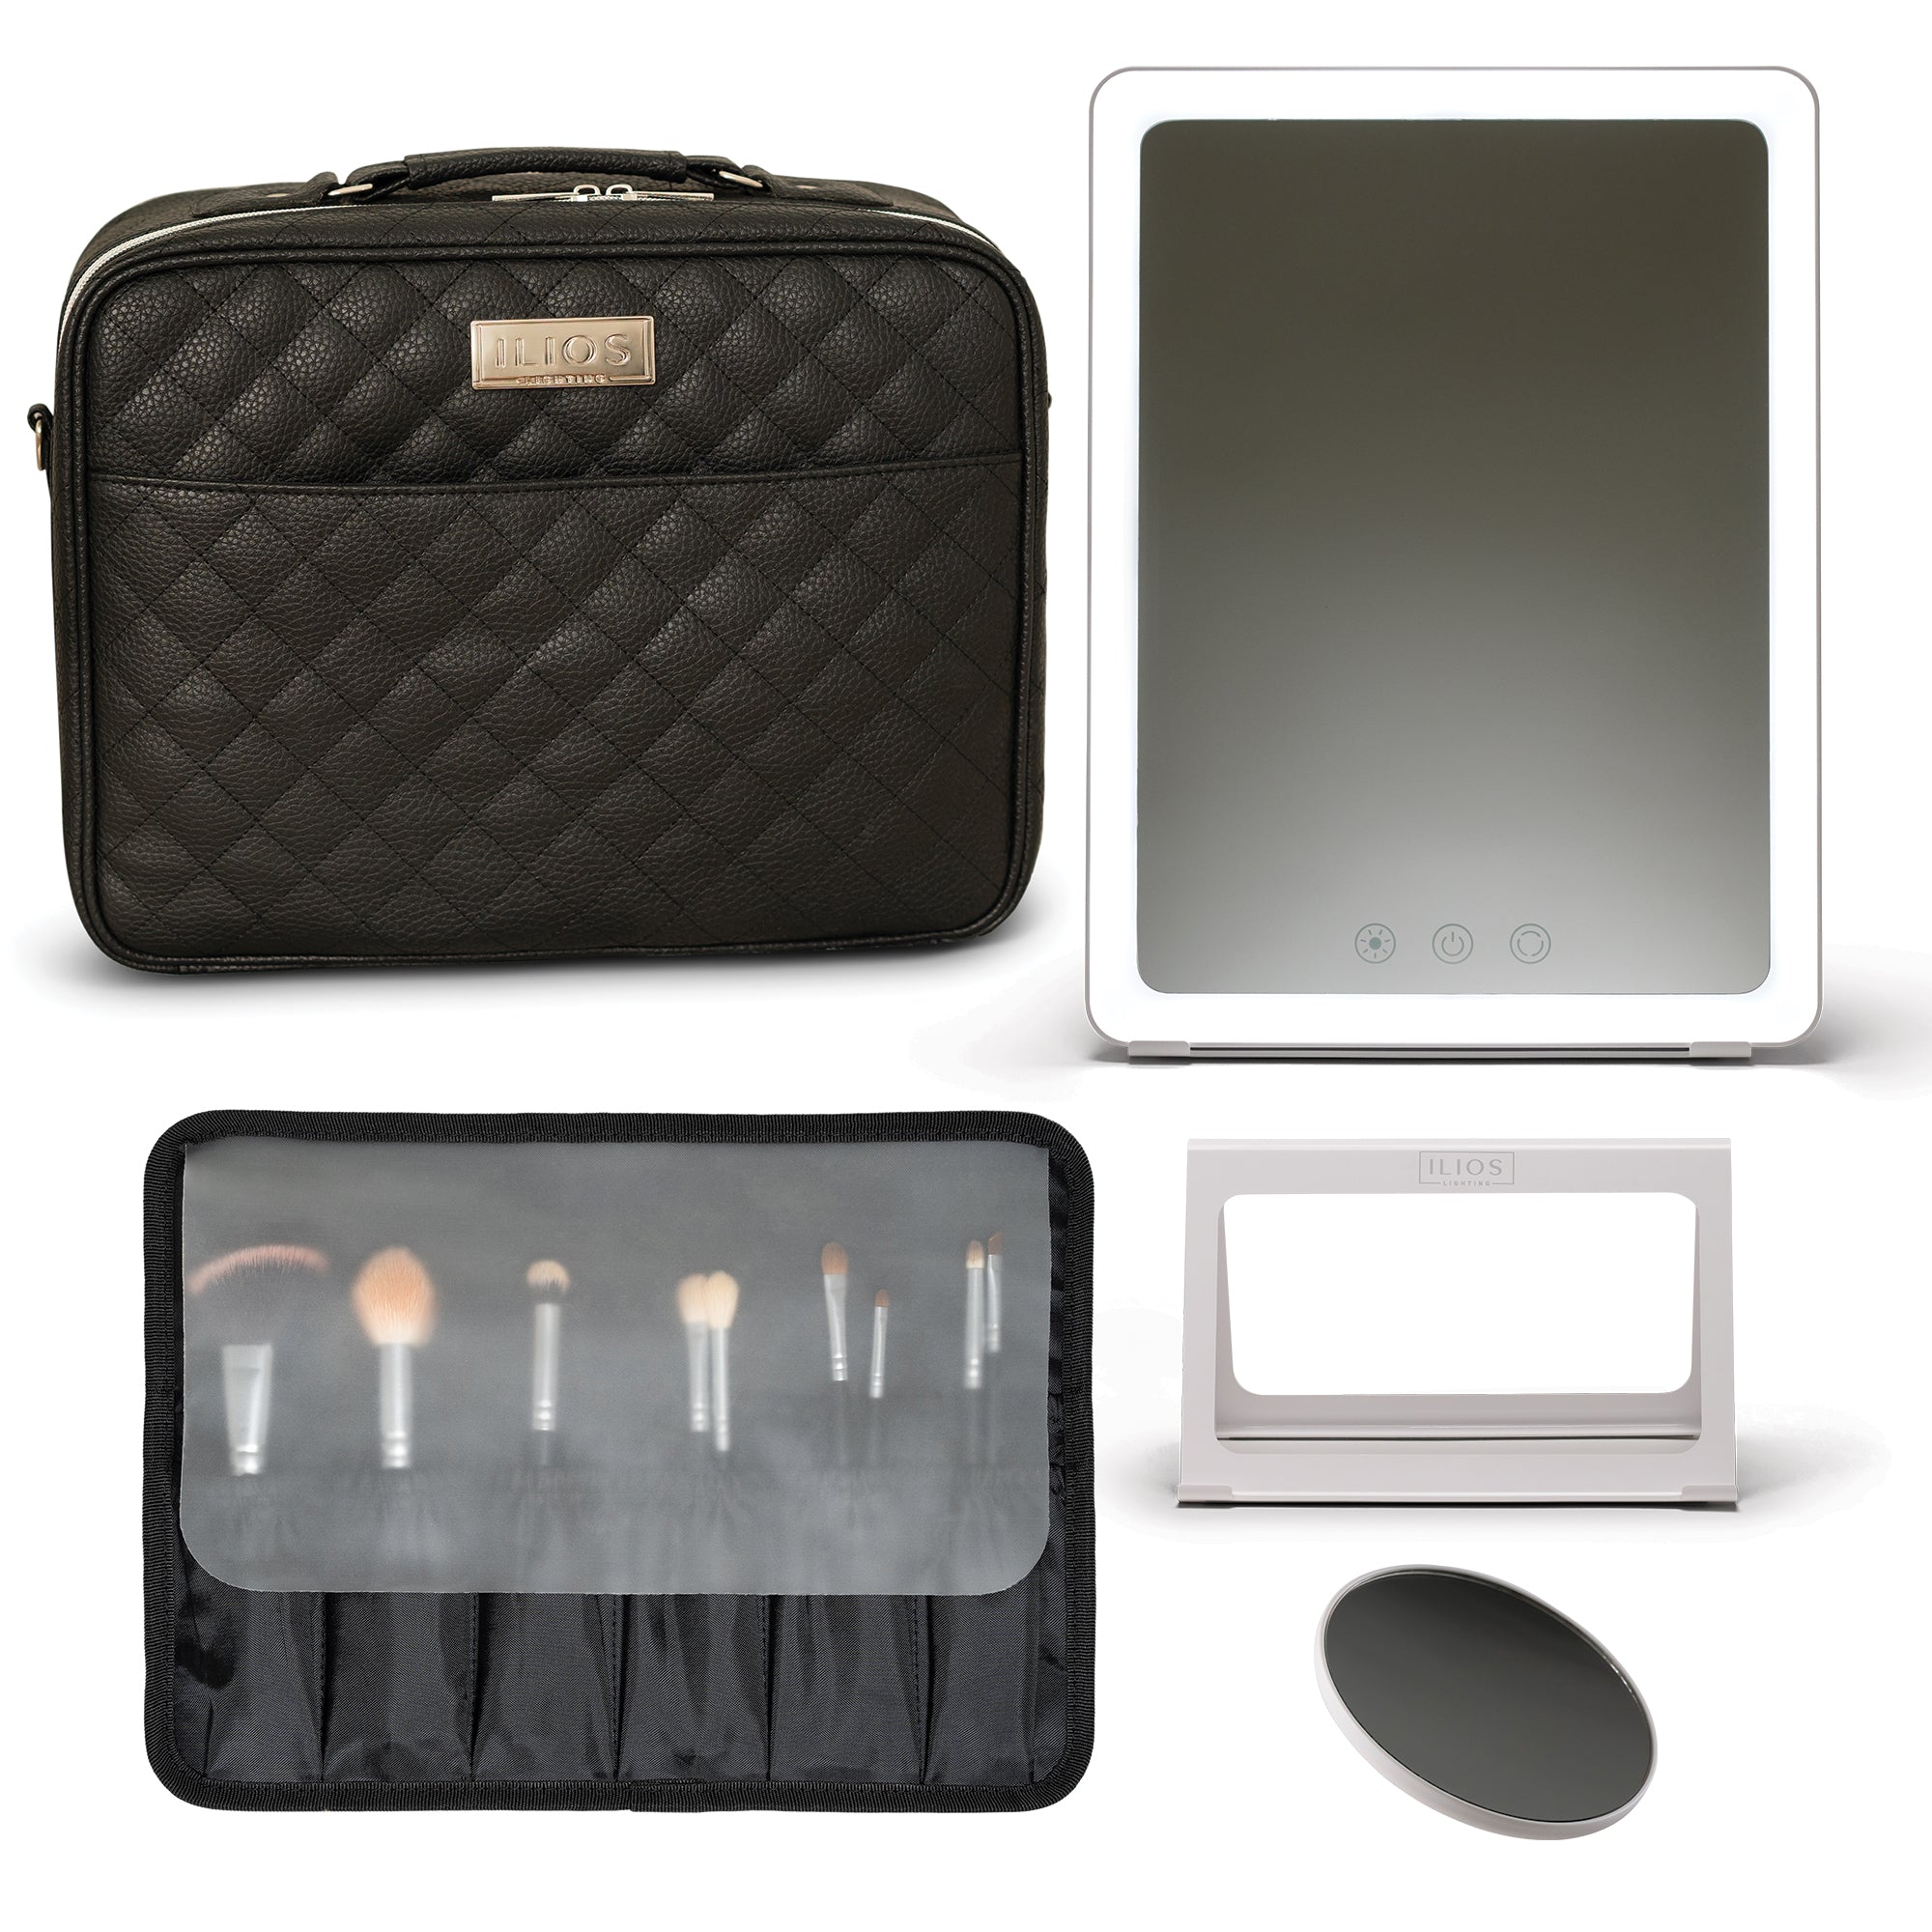
Stephy also uses the Ilios Slim Mirror for everyday looks, creative makeup, and on-the-go use.
Whether you're working on yourself or a client, the goal is the same: see the makeup you're actually creating.
“It shows everything that you are working on.”
On creating with the Ilios Beauty Ring
Sketch and Soften the Cheek Detail
With the eyes nearly complete, the same blue color story moves down through the rest of the face.
The Half Magic Beauty VELVET FLIK Longwear Wing + Waterline Eyeliner Pencil in Sea Me Rollin is used to sketch the cheek shape, moving between both sides to keep the design as even as possible.
Next, the BK Beauty x Nikki La Rose N16 Pro Concealer Brush is used with powder foundation to blur and diffuse the edges.
This softens any areas where the sketch became heavier than intended while bringing coverage back wherever the original foundation has been blended away.

Finish with a Bold Blue Lip and Shimmer
To tie the color story together, the same Half Magic Beauty VELVET FLIK liner in Sea Me Rollin is used to line the lips and lightly fill them in.
Then the MOB Beauty Long Wear Liquid Clay Eyeshadow in Spirit Room Blue pulls double duty as lip color, creating the bold blue payoff that connects the lips back to the eyes.
Blue powder eyeshadow is stippled over the top with the Rose and Ben Beauty C30 Detail Concealer Brush to intensify and set the color.
Finally, the shimmer used around the inner corners of the eyes is placed through the center of the lips, bringing light back into the center of the face.
The Finished Look
With the remaining gems in place and the final touches of shimmer added, the transformation comes together.


Get Creative and Try It for Yourself
Change the colors. Create your own gem placement. Make the eyes more dramatic or simplify the design. Experiment with finishes and textures you've never tried before.
The techniques give you the starting point. Where the finished design goes from there is completely up to you.
See the blend.
See the color.
See the details.
Then make the look your own.
Makeup tutorial, demonstrations, and creative content featured in this article are courtesy of makeup artist and beauty creator @makeupbysostephy on Instagram.

Slim Mirror
Introducing the Ilios Lighting Slim Rechargeable Makeup Mirror—the perfect combination of elegance and functionality. Weighing just 1.5 l...